
A Comprehensive Guide to Building a Curtain Wall Mock-up
Introduction
In our most recent training project, we partnered with MP Drafting to construct a comprehensive curtain wall mock-up. Our objective was to create a hands-on experience for the team, allowing them to better understand the intricacies of the systems they design every day. We documented the entire process in our curtain wall mock-up video, providing a step-by-step guide on how we brought this project to fruition.
Planning and Preparations
The first step in creating the mock-up involved careful planning. The owner of MP Drafting, Marcus, and I decided that the project should encapsulate every aspect of a real curtain wall—from including a splice and glass, to ensuring proper anchorage. After settling on the size and products we would use, we formulated a comprehensive list of all the items we needed for our mock-up.
The drafting team subsequently crafted a set of shop drawings for us to review, serving as the blueprint for the project. We then started with the takeoff process to ensure we had all the necessary materials for our curtain wall.
Frame Construction
Once we had our list of materials, we began sourcing what we needed. Surprisingly, the wooden frame for our mock-up cost more than the other materials combined. After acquiring all the components, we started assembling our structure. We first built the outer frame and used a 4×4 with a 1×6 to simulate a floor line, which allowed us to create a two-story application.
Fabrication and Installation
After we had our base structure in place, we moved onto the fabrication phase. We cut all the pieces necessary for our curtain wall and then brought them back to the shop to begin installation.
We divided our installation process into two parts: stick-built and ladder system installations. For the stick-built section, we installed one piece at a time, making sure to pre-locate all the f and t clips on the frame for easy placement. For the ladder system section, we pre-built everything and then stood it up and slid it into place.
Anchorage and Accessories
We then focused on securing the system in place. To do this, we used wind load and dead load anchors. We made sure to coat the steel components to prevent corrosion between the steel and aluminum parts of the system. Once the system was securely anchored, we worked on making it weather tight by installing rubber and foam accessories.
Glass Installation
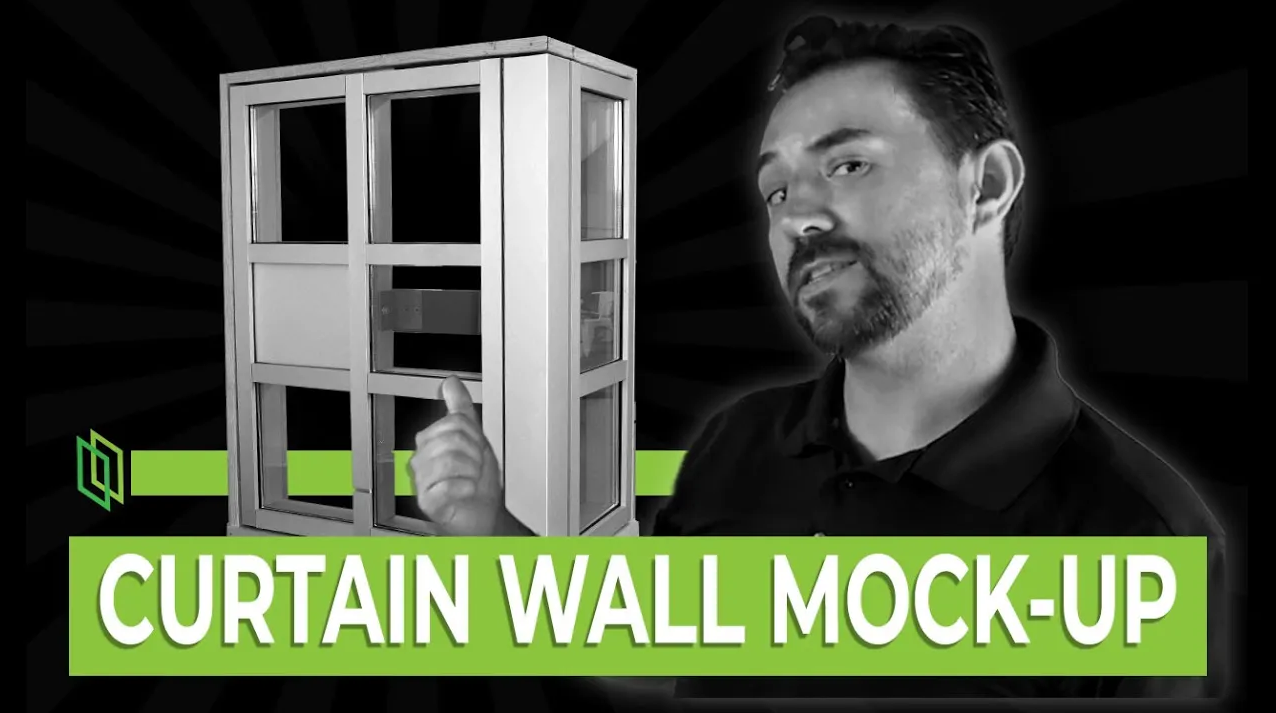
With the structure in place and weather tight, we moved onto the final step of our curtain wall mock-up: glass installation. We decided on a two-story structure to showcase the difference between vision glass and spandrel glass. We started installing from the bottom, ensuring the alignment of weep holes.
Conclusion
After installing the glass and closing up the system, we had a completed curtain wall mock-up that would serve as a tangible reference for future projects. This hands-on experience was not only educational but also a fun and engaging project. The project was made possible thanks to Midwest Glass Fabricators, MP Drafting, Driven Fabrication, and Tubelite.
We hope that our curtain wall mock-up video and this accompanying article provide useful resources for anyone interested in the complexities of curtain wall construction.
Keywords
Curtain Wall, Mock-up, Planning, Fabrication, Installation, Anchorage, Accessories, Glass Installation, Training Project, MP Drafting, Midwest Glass Fabricators, Driven Fabrication, Tubelite, Weather Tight, Vision Glass, Spandrel Glass, Shop Drawings, Stick-Built, Ladder System, Wind Load Anchors, Dead Load Anchors.
Our Glass Industry Courses/Classes teach you the basics of becoming a project manager in the glazing business.
To learn more about glass and glazing visit us at https://www.Learnglazing.com/
Follow us on Linked in: https://www.linkedin.com/company/learnglazing