Unlock Your Achievement: Download and Print Your Course Completion Certificate!
Hello future glazing gurus,
At LearnGlazing.com, we understand the pride and sense of accomplishment that comes with completing each course. To acknowledge your hard work and dedication, we provide a certificate for every course you successfully navigate with a score of 80% or better!
Here’s how you can lay your hands on that well-earned piece of paper:
- Course Completion: Ensure you’ve clicked Complete & continue after each lesson. This guarantees you’ve tackled all the content, making you eligible for the certificate.
- Accessing Your Certificate: Once you’ve crossed the finish line:
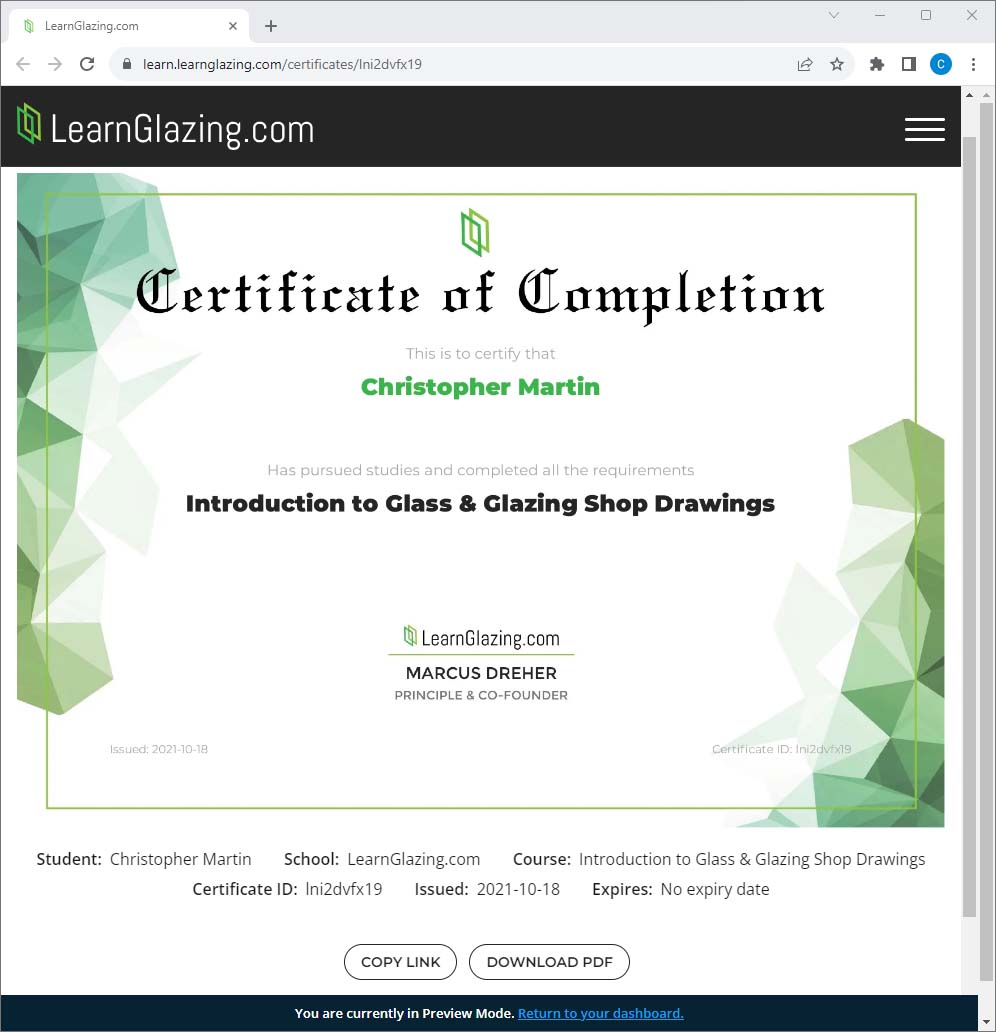
- If you’re on the default course completion page, a handy popup will show up with a Get your certificate button. One click, and voila! Your certificate is ready to be downloaded as a PDF.
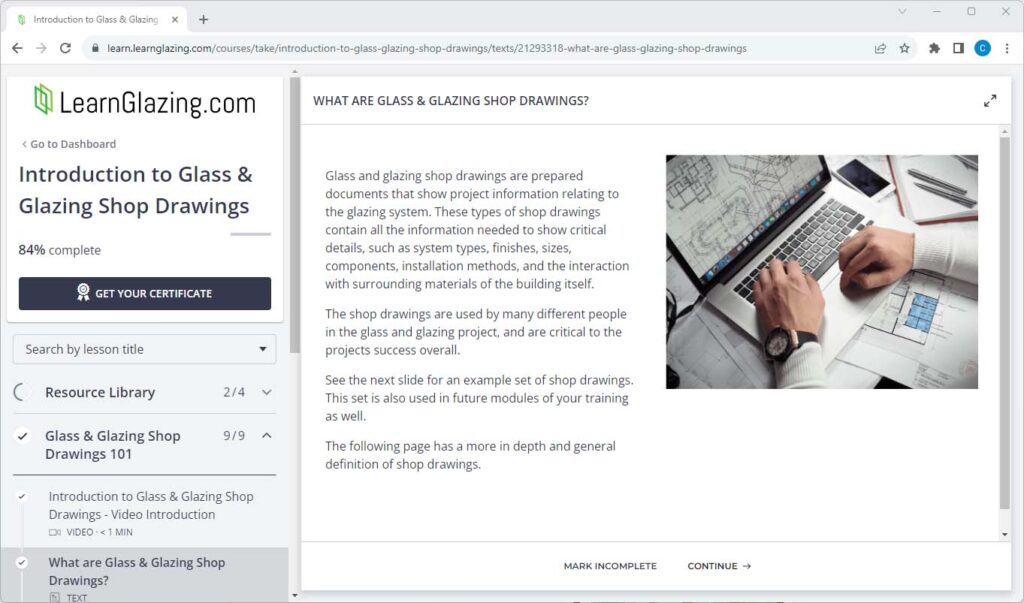
- Customized your course completion page? No worries! Check out the top left side of the Course Player, and you’ll spot the Get your certificate button waiting for you.
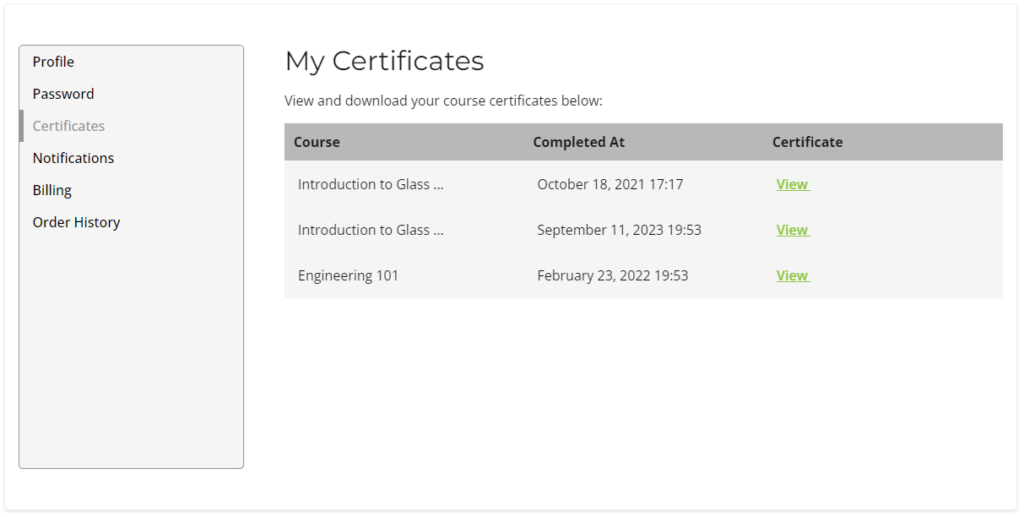
- Certificate Storage: Your achievements deserve to be revisited! Every certificate you earn is stored safely within your student account settings, allowing you to view and download them at any time – even if your course access expires.
For those who like to keep things organized and want to access certificates directly from their account settings, here’s a quick step-by-step guide:
- Login to your LearnGlazing.com account.
- Hover over to the menu on the top right and select My Account.
- In the menu to the left, you’ll find the Certificates option.
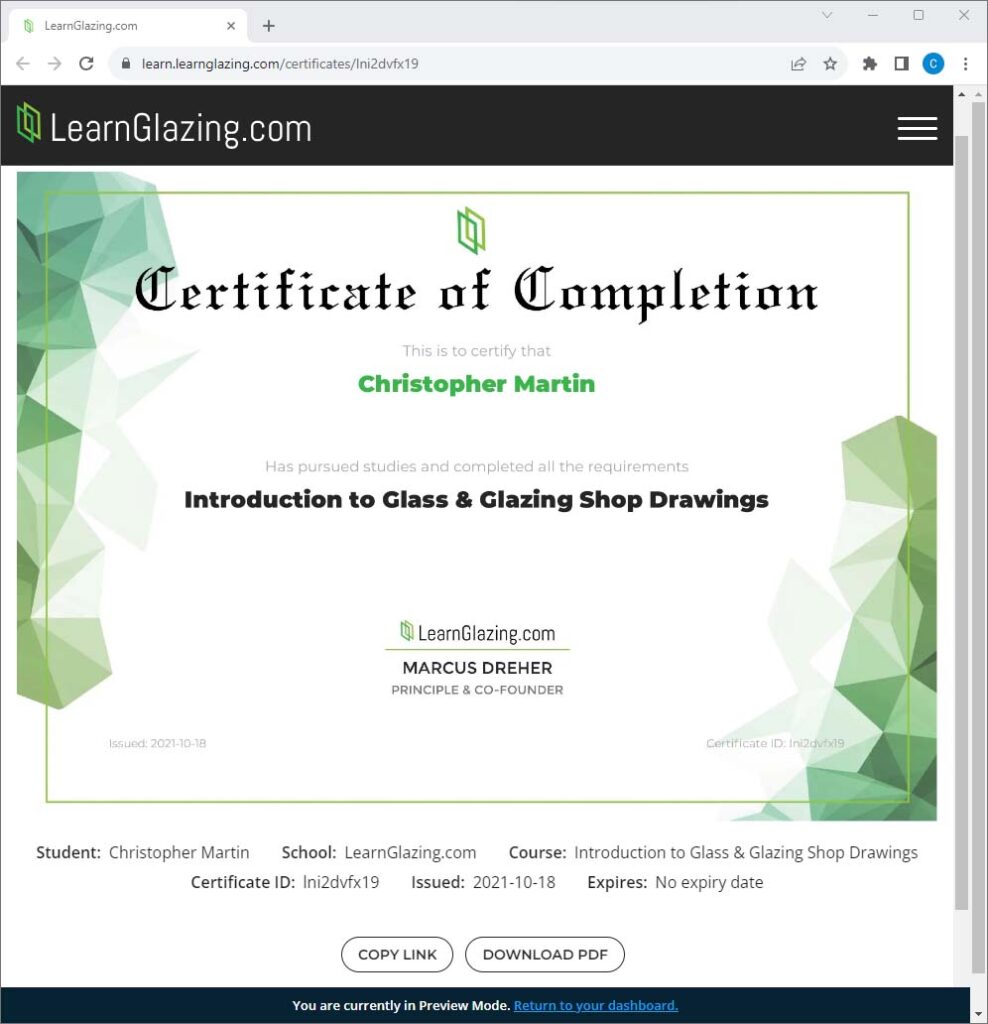
- Click View on the certificate you wish to access.
It’s that simple!
Remember, each certificate is a testament to your dedication and skill. Whether you want to pin it to your wall, add it to your professional portfolio, or simply cherish it, make sure you claim yours.
Happy glazing, and here’s to many more achievements!
Warm regards,
The LearnGlazing.com Team
P.S. Do you want some extra credit?
You can add your certificates to LinkedIn!
Here’s a step-by-step guide to get you started:
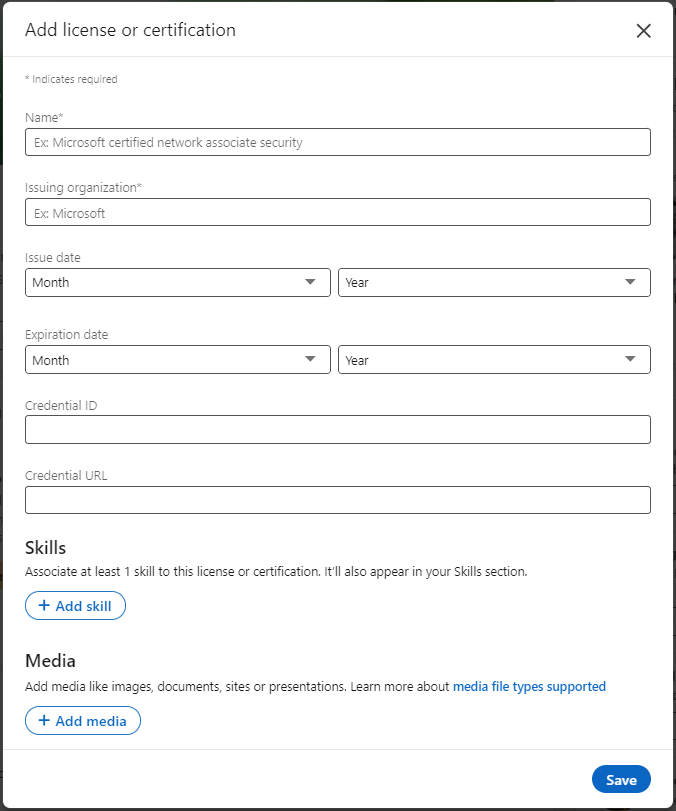
- Copy this URL: https://www.linkedin.com/profile/add?startTask=CERTIFICATION_NAME
Personalize Your Link: Replace CERTIFICATION_NAME in the link with the actual name of your Thinkific certificate. - Click on your personalized link. It will redirect you to a page on LinkedIn (refer to the image on the right ->).
- Fill in the certificate details and then link your public facing certificate.
Aside from this, don’t forget you can also share your certificate on LinkedIn as a post! Just look for the share option right under your certificate on Thinkific.

